Habitat Administration
This facility allows sites, counties, states and countries to be added, edited and deleted and moved within the locations hierarchy.
Starting Habitat Administration
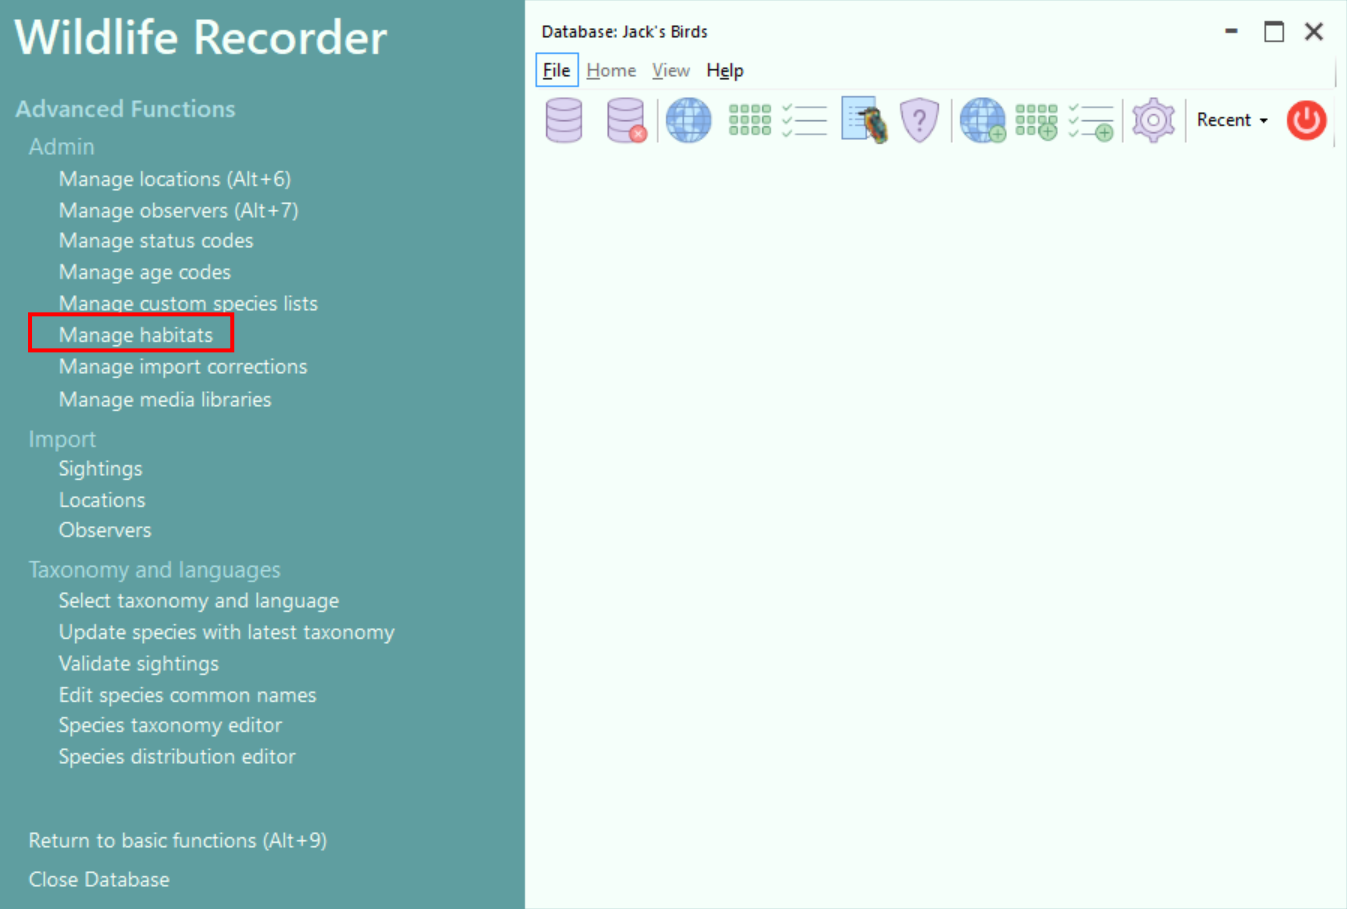
Open WR4
- Open the database you want to work with.
- From the Navigation Panel Click Show Advanced Functions.

- From the Advanced Functions Panel select Manage habitats
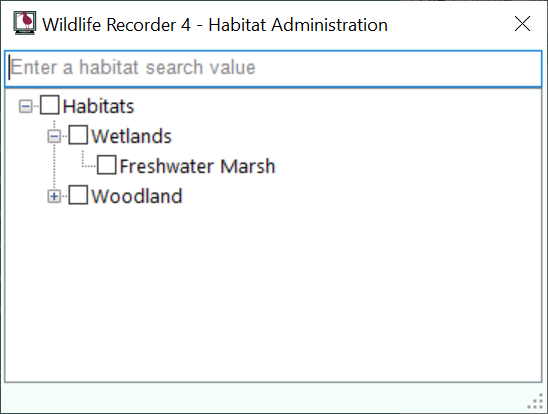
The Habitat Administration screen will open. The screen allows you to add, edit or delete habitat codes and also to arrange them into a hierarchical structure of habitats.
To create a new habitat:
Navigate the Habitat tree to the position at to which you wish to add the habitat.
Right click on the item to which you wish to add the new habitat. A menu will appear click on Add Habitat, the New Habitat screen will be displayed into which the details of the new habitat can be entered.
After saving the new habitat an new habitat enntry screen wil be displayed in which can add another new habitat.
To edit an existing habitat:
Navigate the Habitat tree to find the Habitat which you want to Edit.
Right click the habitat name a menu will be displayed. A menu will appear click on Edit Habitat, the Edit Habitat screen will be displayed in which the habitat details can be changed.
To delete a habitat
Navigate the Habitat tree to find the Habitat which you want to Delete.
Right click the habitat name a menu will be displayed. A menu will appear click on Delete Habitat, a confirmation message will be displayed.
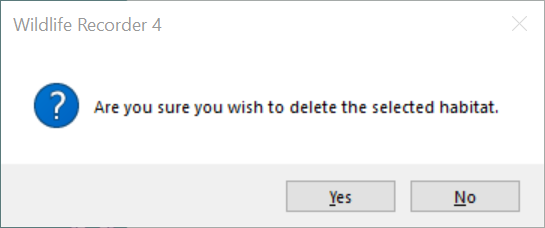 Click Yes to delete the habitat.
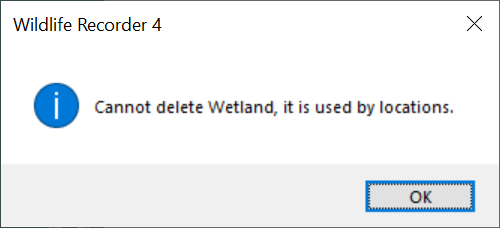
If the habitat is used in by any location in the database then it cannot be deleted and the following message box will be displayed.