Save and customise a query
WR4 comes with a number of pre-made queries, these can be used as supplied but their parameters cannot be changed. You can make your own customised queries and name them to your own needs.
- Run a query which is close to your requirements e.g. "Sightings Systematic Order". Enter eny parameters required, e.g. selecting the date "Between" 01/01/2017 and 31/12/2017.
- The query results will now displayed.
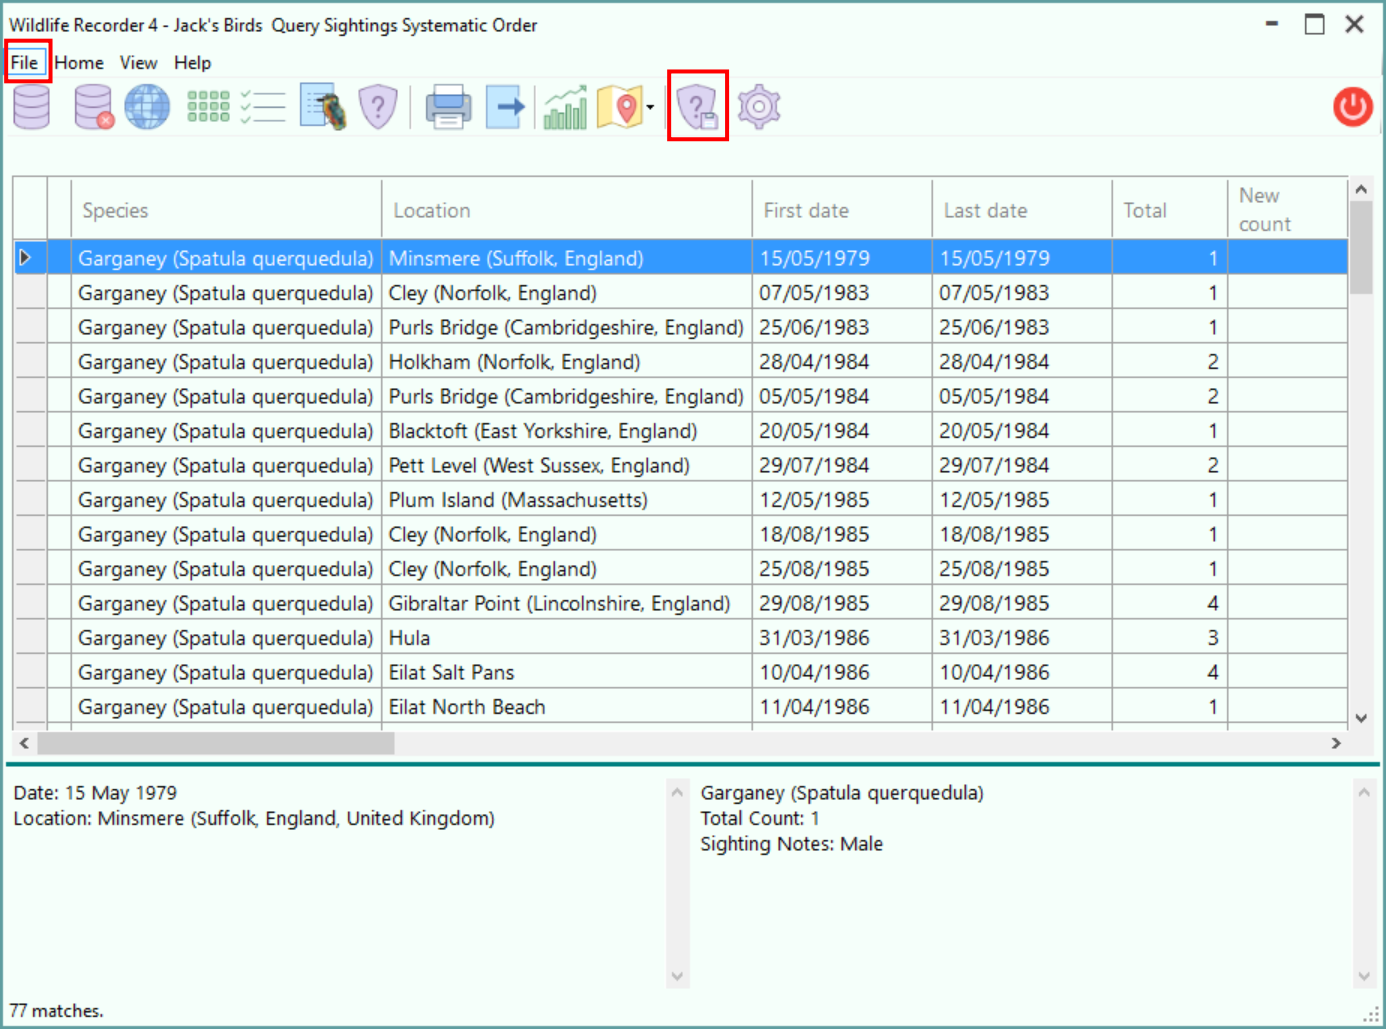
- To create a copy of the displayed query parameters which you can customise, click the Save Query button in the File toolbar. The Save Query form is displayed:
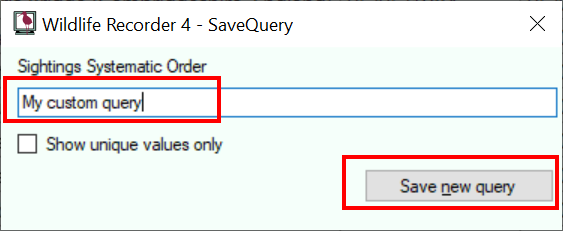 Enter the name you want to give the query and click the Save New Query button.
 - You can now make any changes you want to make to the information displayed.
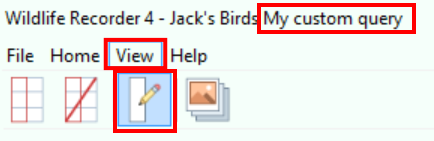
- To add and/or remove the fields displayed in columns click the Configure Columns button in the View toolbar. The Select Display Columns form is displayed. This form shows all the field which are available in the left-hand list and those which are currenty shown in the query are in the right-hand list.
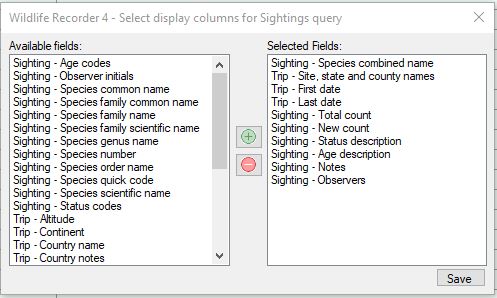
To add fields to those displayed in the query, select the required name(s) from the Available Fields list and either click on the green plus button or drag them to the Selected Fields list.
To remove fields from those displayed in the query, select the required name(s) from the Selected Fields list and either click on the red minus button or drag them to the Available Fields list.
The order of the fields in the Available Fields list can be changed. Select one or more fields, while continuing to hold down the left mouse button, move the mouse pointer to the field under which you wish to move the selected fieldsand then release the mouse button. - Once you have finished changing the fields, click the Save button to save the changes.
- The query results will be redisplayed showing the new set of fields you have defined. you can change the column widths if required by dragging the right hand column separator in the column header.
- When you have finished, save your changes by click the Save Query button in the File toolbar.
In the Save Query screen which is displayed click the Update Existing Query button.