Sightings workspace selection
Trips and sightings are organised into workspaces. In order to display trips and sightings you must first select a workspace.
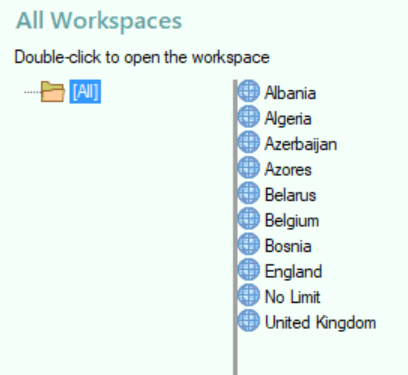
This page allows the workspace to be selected and shows all the sightings workspaces for the open database and allows various actions to be performed on them.
To open a workspace select the required workspace name with the mouse or using keyboard keys and double-click the left mouse button or press Enter on the keyboard.
Right-clicking on a workspace name will display a context menu from which commonly used functions can be selected.
Other operations on the workspace can be performed by clicking on buttons in the toolbar. Note that a description of the toolbar button icon is displayed if you hover the mouse over the button. If a keyboard shortcut is available that will also be shown.
Organising Workspaces
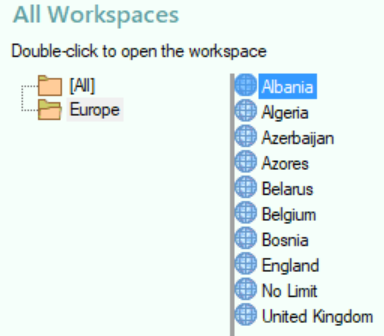
Workspaces can be organised into folders. By default there is a single folder named All.

To create a new Folder
-
Right-click on a folder and select New Folder from the menu. A new folder with and empty name will be inserted after the selected folder.
-
Type the name you want to give the folder in the empty name space and the press the Enter key.

To move workspaces between folders
-
Select one or more workspace names from the list and right-click on any of them.
-
Select Add to Folder from the menu.
-
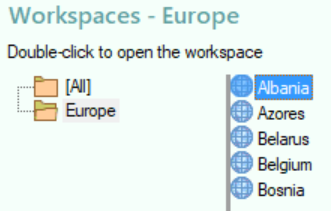
Click on the name of the folder you wish to move the workspaces to then right-click and select Add to folder from the menu.
Alternatively select one or more workspaces to be moved and drag them to the desired folder.

