Database Synchronisation Management
Database synchronisation allows a group of databases to share locations, habitats and observers so that they appear the same in all the databases.
You need to tell the system which databases are to share the data using this tool by creating a "Synchronisation Group". Each "Synchronisation group" consists of a master database and one or more subsidiary databases (child databases). The master database will be the database which takes precedence over the others. When the group of databases are defined an initial synchronisation is performed to combine the data. After the synchronisation normal insert, updates and deletions of locations will take place automatically across the database so that they are kept in step.
You may create more than one Synchronisation Group for example if you keep your own personla records on a computer but also keep records for a bird club you could create a personal group and a club group.
Important Note
Before you first set up your synchronisation group, make a backup of your data. The backup can later be restored if any unforseen problems occur during your synchronisation.
After you have created your group and succesfully synchronised your databases make another backup.
If you keep your records on more than one computer e.g. on a desktop at home and a laptop for travelling, do an "All databases" restore of the synchronised databases backup onto your other computer.
To Create a Database Synchronisation Group.
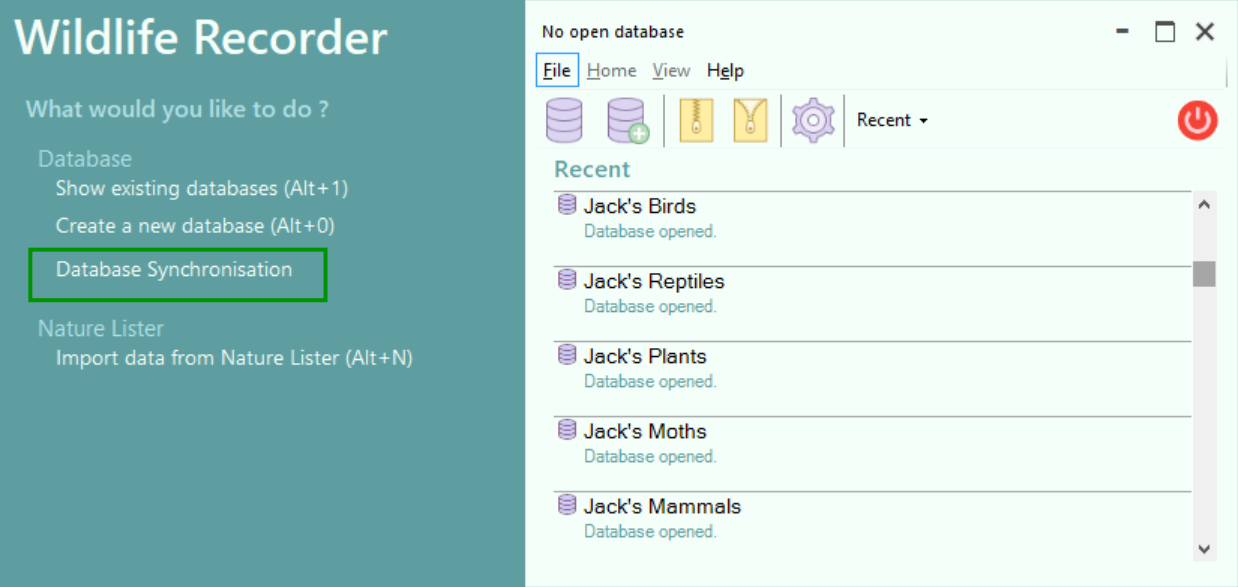
Start Wildlife Recorder 4 but do not open a database.
Click on Database Synchronisation
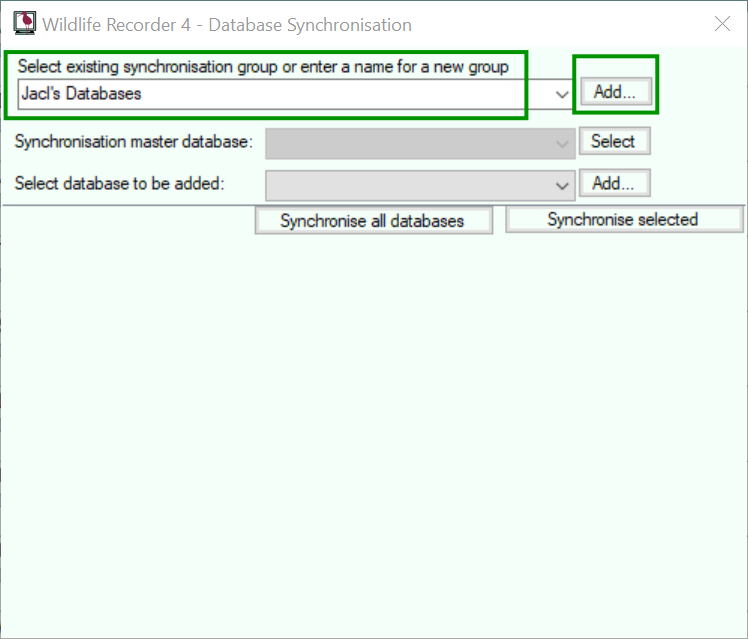
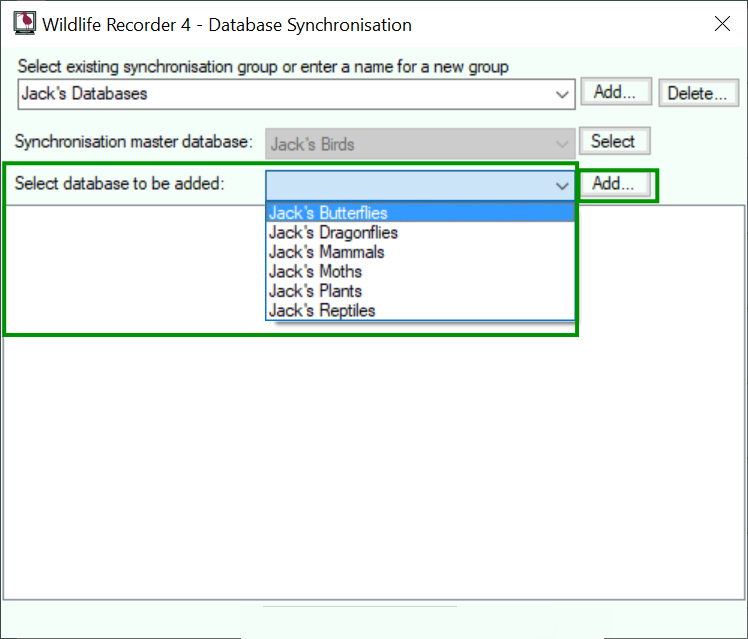
Enter the name you want to give to the group of databases in the Synchronisation Group name field and click on the Add button.
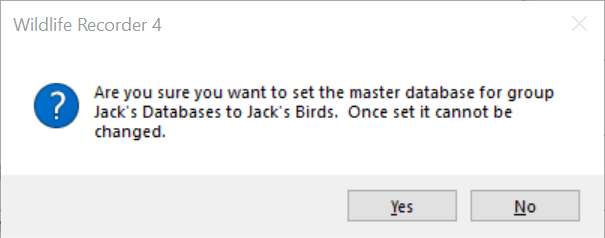
The Synchronisation Group will be created and you will be prompted to select the name of the Master Database. Select the database which is to be the master database from the drop down list of database names, then click the Select button.
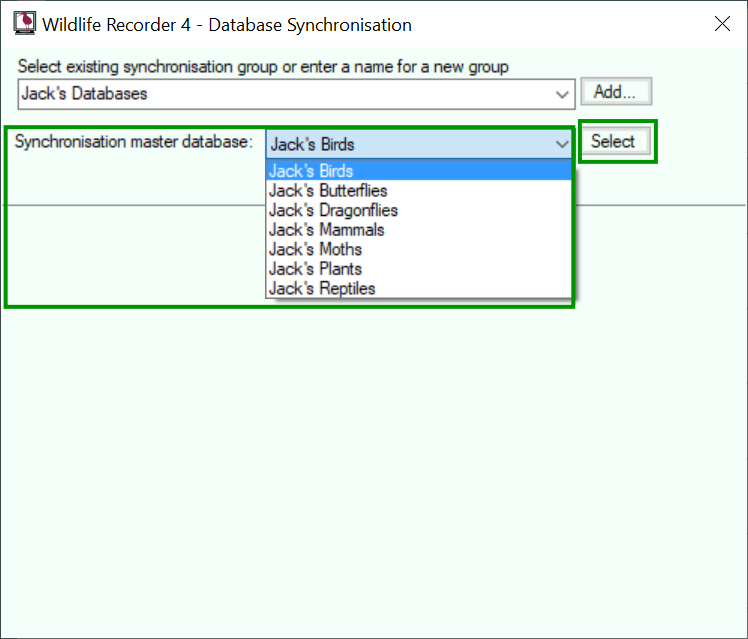
A message will be displayed asking you to confirm that you have selected the correct master database. Click on the Yes button to confirm.
You will be prompted to add a subsidiary database. Select the name of the subsidiary database from the drop down list of database names, then click the Add button.
A message will be displayed asking you to confirm that you have selected the correct subsidiary database. Click on the Yes button to confirm.
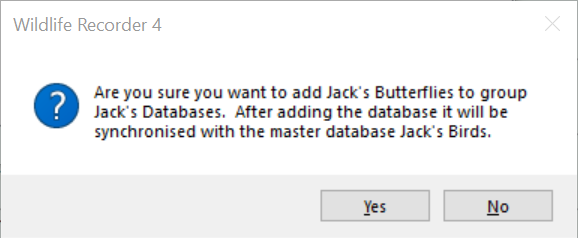
Once the addition is confirmed the database will be synchronised with the master by matching up the location, habitat and obsderver names.

During the synchronisation some problems might need resolving to see how to deal with these see the following.
Location synchronisation corrections
Habitat synchronisation corrections
Observer synchronisation corrections
Once the synchronisation has completed you can add other databases using the same procedure.
When you have added all the required databases click the Close button to close the screen
To Re-synchronise the databases in a Synchronisation Group.
It may sometimes be necessary to re-synchronise the databases in a group. To do this select the group you wish to re-synchronise from the Synchronise Group drop-down and click the "Synchronise All" button to start the re-synchronisation.
When the re-synchronisation has completed, click the Close button to close the screen
To delete a Synchronisation Group.
if you no longer wish to synchronise the databases you can delete the synchronise group. Deleting the group only stops the synchronisation it does not delete the database, they can continue to be used.
Select the group you wish to delete from the Synchronise Group drop-down and click the Delete Group button. You will be asked to confirm the deletion.
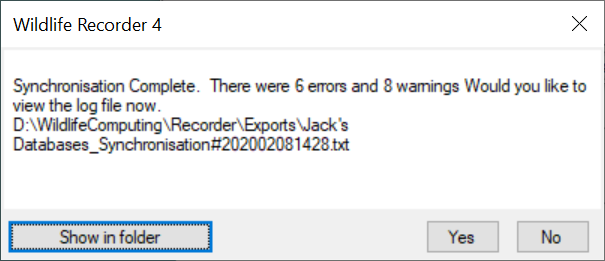
On completion of the synchronisation, a message is displayed showing the number of errors and warnings issued. A log showing the errors and warnings can be displayed by clicking the Yes button.