Entering Sighting Details
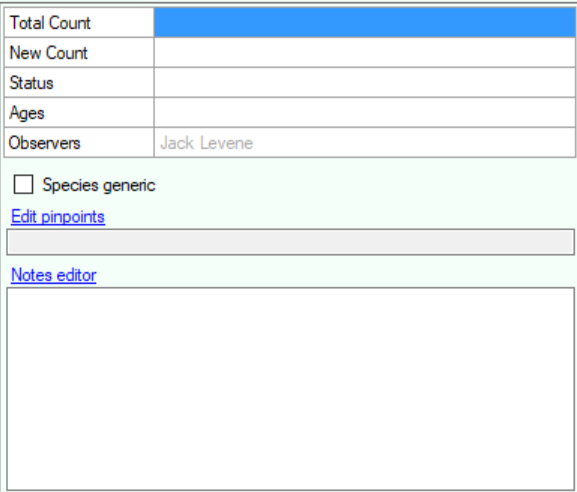
Sightings details are entered into a grid, all the fields are optional. The following can be entered:
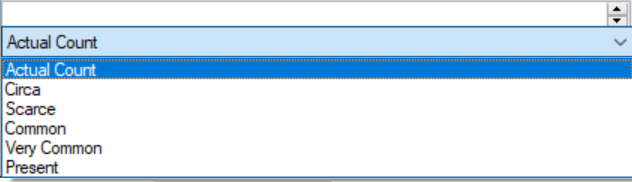
| Total Count | Enter the count of individuals seen as a number or one of 3 abundance indicators, scarce, common and very common.
To enter an actual count just enter a numeric value in the cell. You can precede the number with a c if the count is approximate. (c100) To enter a count in a cell simply type the numeric account
or an abundance level
You can indicate that the count is approximate by preceding the value with a c character If an invalid count is entered an error message will displayed over the cell for a few moments. To save the cell value either click in or navigate to another cell or press the Enter Key. To cancel the entered value press the Esc key. You can also display a Total Count help tool by clicking the button at the right of the cell or by pressing (Ctrl+Enter). Use the drop down to indicate the type of count For Actual Count and Circa end the count value in the edit field. Press the ENTER key to save the count, ESC to cancel. |
| New Count | This field is optional leave this field blank if you do not wish to use it. Enter the count of new individuals you have seen. e.g. If one day you see 2 Little Grebes at a particular site and the following day you see 3 you would enter 3 in total count and 1 in new count for the second days sighting.
N.B. Leaving the field blank indicates field not used, 0 indicates no new individuals. |
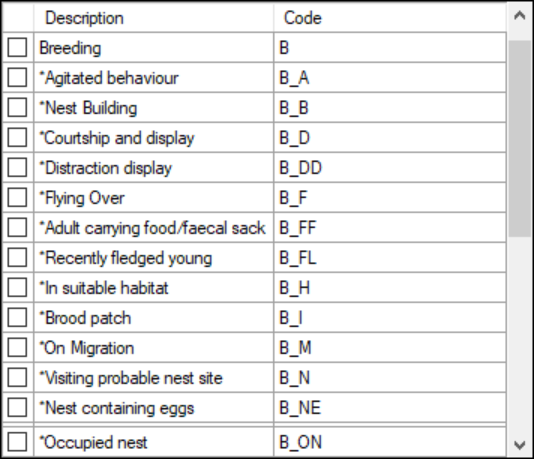
| Status | Status codes enable you to indicate the status of a sighting e.g. the bird was only heard, it was an escape etc. You can define your own status codes if you wish.
If you are familiar with the status codes you can enter them manually either the code or description can be entered e.g. H or Heard you may enter more than one by separating them with commas (H,P). Status codes can also be selecting from a list, to display the selection list click the button at the right of the cell or press Ctrl+ENTER. Select one or more status code by clicking in the check boxes and press ENTER when you have finished your selection. Press ESC to cancel the selection. |
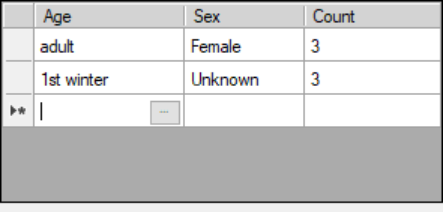
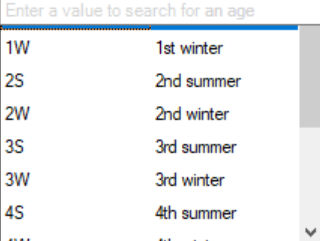
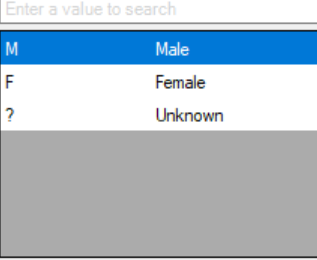
| Ages | Age codes enable you to indicate the ages and sexes of the individuals seen. You can define your own age codes if you wish.
If you are familiar with the age and sex codes you can enter them manually either the code or description can be entered e.g. ad,m,1 or adult,male,1 are both acceptable. Multiple entries can be entered separated by a ; character e.g. ad,f,3;1W,?,3 Ages can also be selected by displaying a selection tool. ,To display the selection tool click the button at the right of the cell or press Ctrl+ENTER. To select an Age click the button in the blank cell of the Age column and select the required age from the drop-down by double-clicking or positioning with the arrow keys and pressing Enter.. The age list may be filtered by entering a value in the search field. Enter the count of individuals seen by entering a positive numeric value or by selecting an abundance indicator from the Counts drop-down. |
| Observers | When a species is selected it is assigned all the observers associated with the trip. You can edit the observers by clicking the Button at the right of the cell or by pressing Ctrl+Enter. The Observers Selection will be displayed. |
| Notes | This field is optional. If required enter any notes you may have about the sighting. You may enter an unlimited amount of text.
By using the Notes Editor It is possible to apply formatting such font, font size, bold, italic and underline in the text. to display the Notes Editor click on the Notes Editor link. |
| Species generic | If the sighting refers to a hybrid, or is not certainly identified, the Species Generic option can be selected. The sighting will be shown in reports, analyses etc. but will not be added to any lists. |
| Pinpoints | One or more pinpoint locations can be added to a sighting, these will be shown on any maps plotted from within WR4. To add pinpoints to the sighting click the Edit pinpoints link. A map will be displayed on which you can mark the required points. N.B. This facility is only available when using Bing Maps as your Maps Provider. |
Saving the Sighting
To save the sighting click on the ![]() button or press Ctrl+S.
button or press Ctrl+S.
Cancelling the Sighting;
To cancel the sighting without saving press Esc.