Select Species for a Trip or Tick List
After you have created a trip or elected to create a Tick List screen similar to the one below will be displayed.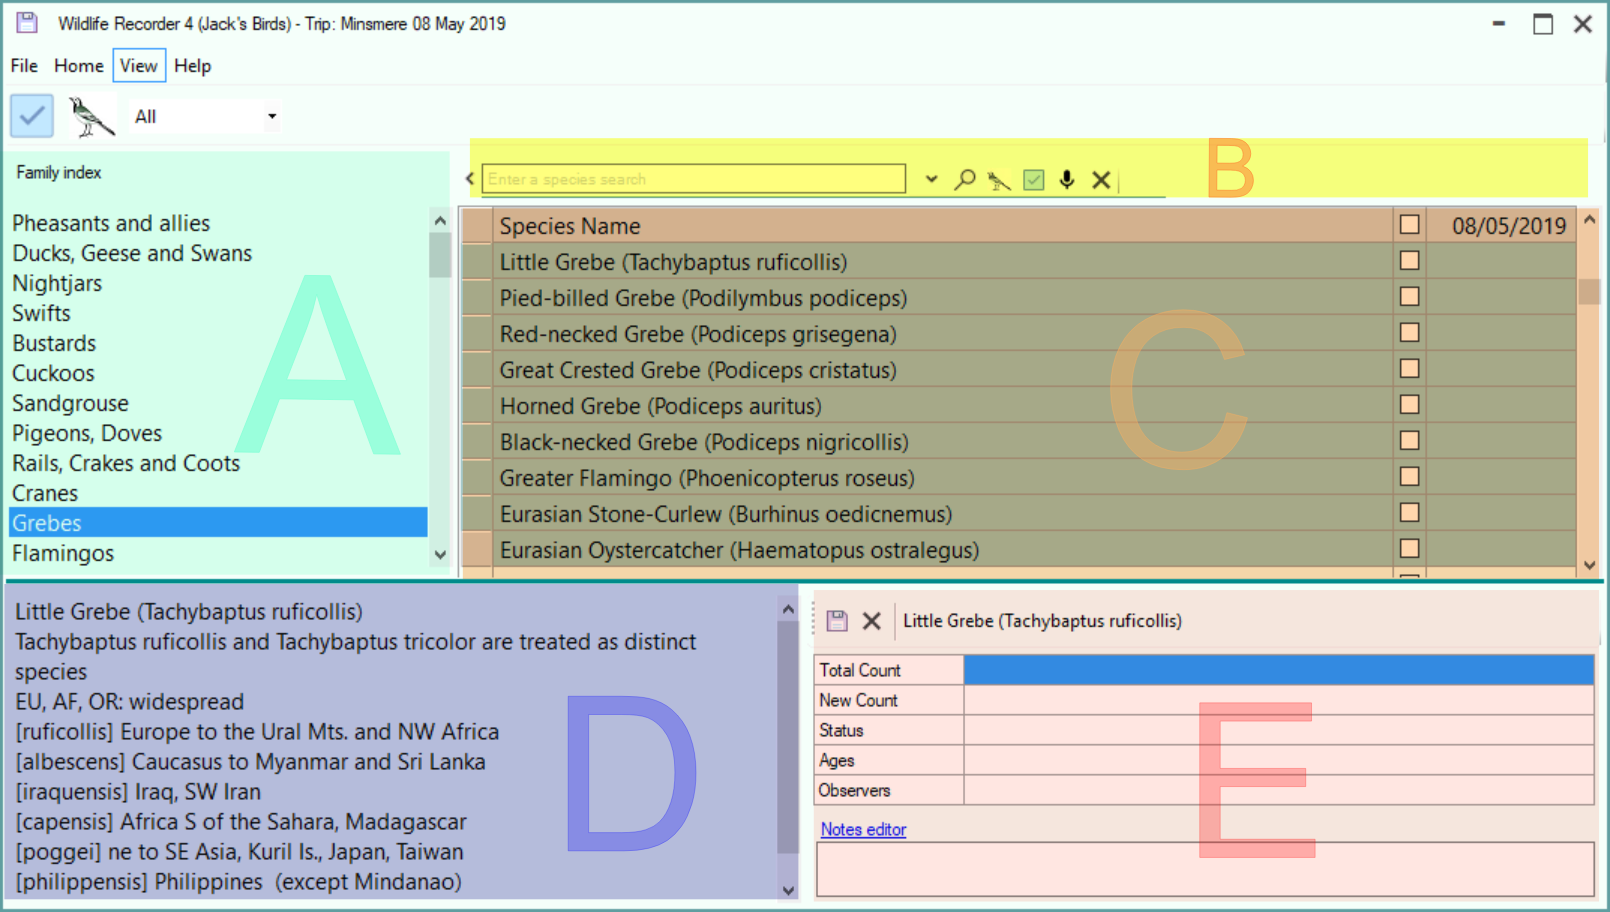 The form has several sections as described below. Please note that sections D and E can be displayed either at the top or bottom of the form, this can be configured using the Display selection desciptions at top setting in Display Preferences
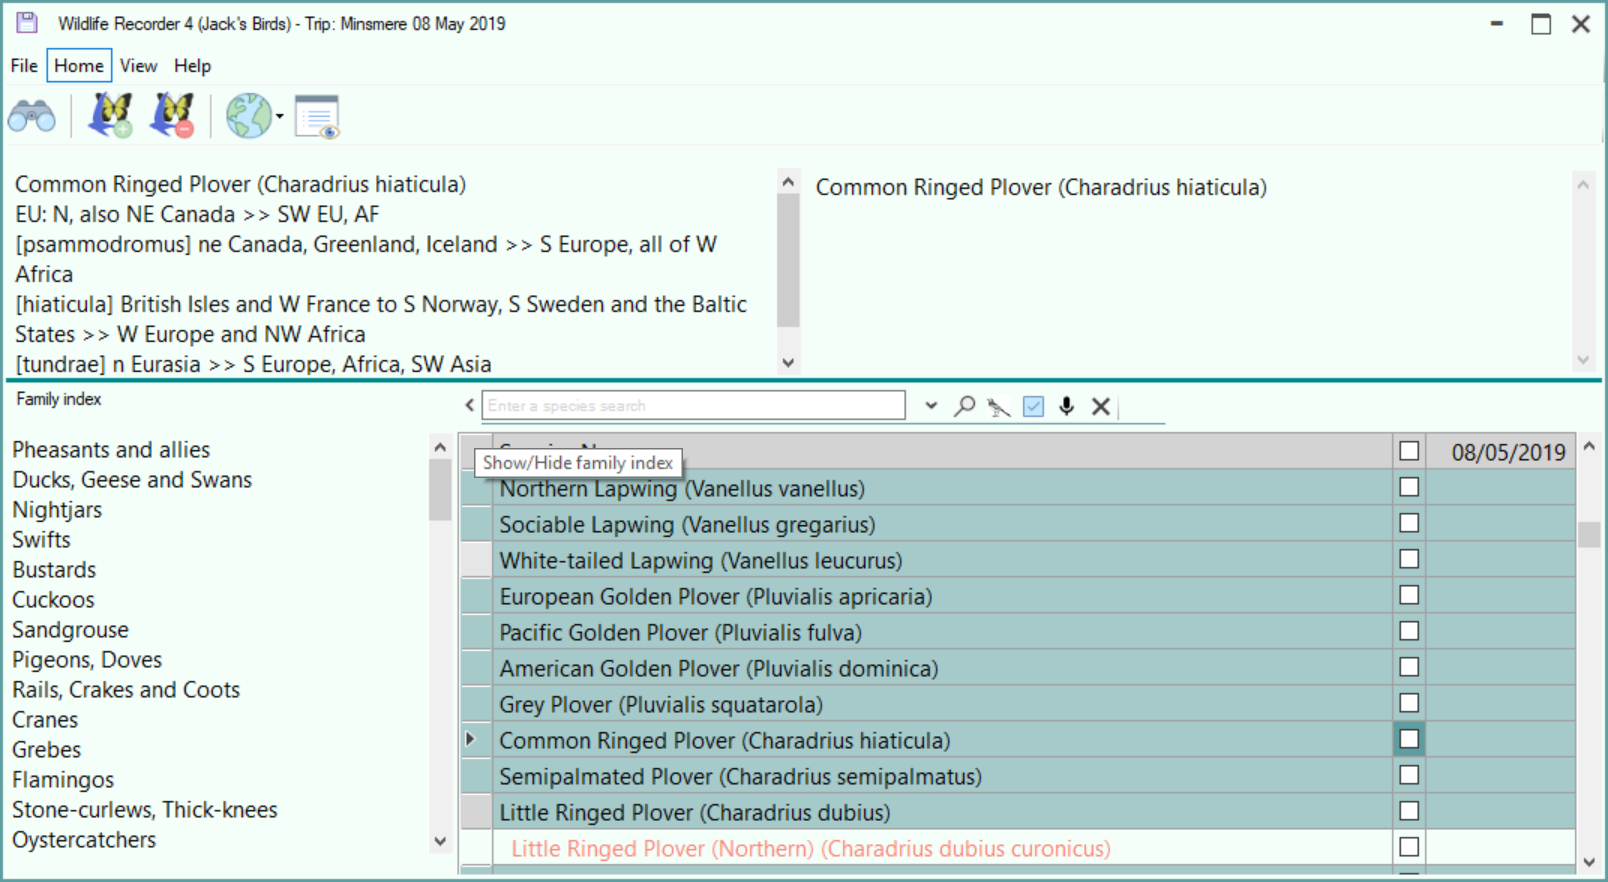
The height of the section containing D and E can be altered by dragging the dark green sizing bar up or down.
A - Family navigator
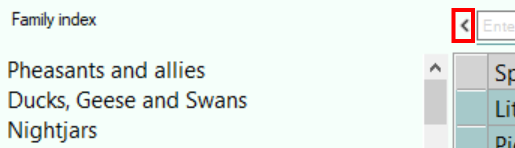
Allows you to navigate quickly to the first species in a family. This can be shown or hidden by clicking the Family Collapse/Expand button.
B - Species Search Tool
Allows you to find a partiicular species by name. See Searching for species.
C - Species Selection
In this area you can select and enter counts for the species recorded. See Selecting / de-selecting species below.
D - Species information
This are shows taxonomy and distribution information about the selected species.
E - Sighting information
Depending on setting of the "Always display Sightings Details" setting in General Preferences. Shows entered sightings detail either as text or in a sightings form.
Selecting / de-selecting a Species
Species can be selected or de-selected by clicking in the check box. The selection can also be selected or de-selected using the Space bar.
You can optionally enter a count of the number seen and other additional data.
Count data for a species can be entered into a cell for the relevant species and column heading. Additional data about the entry can also be added.
Entering Data in a species cell
Position to the species cell into which you want to enter data by clicking in the cell you require or by navigation using the keyboard up, down, left and right keys. You can find a species by typing a species name or part of a species name in species search box. (See searching for a species).
To enter a count in a cell simply type the numeric account ![]() or an abundance level
or an abundance level ![]() . You can indicate that the count is approximate by preceding the value with a c character
. You can indicate that the count is approximate by preceding the value with a c character
![]()
If an invalid count is entered an error message will displayed over the cell for a few moments.
To save the cell value either click in or navigate to another cell or press the Enter Key. To cancel the entered value press the Esc key.
If the Sighting Entry Form is not permanently displayed, additional data such as status, ages and notes can be entered in a cell by clicking the ![]() button at the right of the cell or by pressing Ctrl+Enter on the keyboard. The Sightings Details form will be displayed, the count value from the current cell will automatically be shown in the Total Count field.
button at the right of the cell or by pressing Ctrl+Enter on the keyboard. The Sightings Details form will be displayed, the count value from the current cell will automatically be shown in the Total Count field.
For full details see topic Sighting Details Entry.
If the Sighting Entry Form is permanently displayed additional data can be entered simply by clicking into the required sighting field in the form. If Sightig Entry Form is permanently displayed the following keyboard shortcuts are available.
| Shortcut key | Action |
| Alt+N | Set the focus to the Sighting Notes field |
| Alt+O | Set the focus to the Total Count field. |
| Alt+W | Set the focus to the New count field |
| Alt+T | Set the focus to the Status field. |
| Alt+G | Set the focus to the Ages field. |
| Alt+B | Set the focus to the Observers field |
| Ctrl+S | Save the sighting data |
| Ctrl+F | Save the sighting data and move the focus to the species search tool. |
Saving the Species Selections
To save the species selections click ![]() or press Ctrl+S on the keyboard.
or press Ctrl+S on the keyboard.
Cancel the Spreadsheet
To cancel the spreadsheet without saving the data click ![]() . A warning message will be displayed:
. A warning message will be displayed:
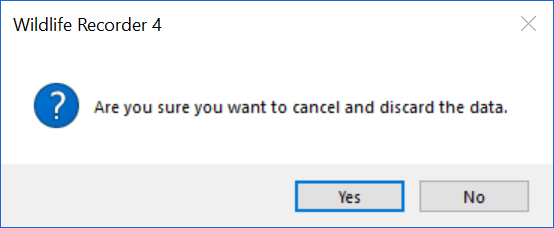
Click the Yes button to confirm cancellation or No to return to the spreadsheet and continue.
Spreadsheet Cell Information
You can more information about the contents of a cell by hovering the mouse pointer over the cell.
If the mouse is hovering over the column header then information about the trip will be displayed:
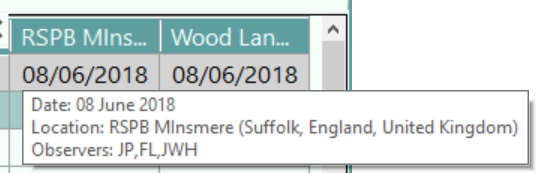
If the mouse is hovering over a species data cell then information about the sighting will be displayed.
![]()
If the mouse is hovering over a species name the information about the species is displayed.
![]()
Home Functions
Display Sighting Entry Form
First select the cell in which you wish to add sighting data then click on Home menu and ![]() The Sightings Details form will be displayed, the count value from the current cell will automatically be shown in the Total Count field.
The Sightings Details form will be displayed, the count value from the current cell will automatically be shown in the Total Count field.
Add Species Row
If you need to enter data for a species which is not shown then you can add it. You can add an existing species from your database or create a new species entry e.g. for a generic species where the identity is not certain or for hybrids. Since all species accepted by the main taxonomic authorities are included in the database it should not normally be necessary to add a 'real' species or sub-species.
To add an existing known species you can select any species row and then click on Home menu and Since an existing known species is being added it will automatically appear in the correct position in the species list.s
To add a new species first select the species row you would like to insert the new species after then click on Home menu and the Add Species form will be displayed. See the topic Adding Species to a Workspace for more details.
Remove Species Row
If you wish to remove a species from the spreadsheet select the species row you wish to remove and then select Home menu and  . Please note that this will permanently remove the species from the distribution list associated with the workspace but it does not delete the species from the database. A warning message will be displayed:
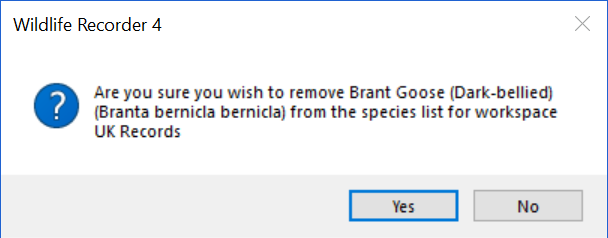
Click Yes to proceed with the removal, click No to Cancel.
Get Information about a species from the Internet
To get information about a species from the internet first select the species you want information about then select Home menu and ![]() drop down the menu and select the Internet Site you wish to query. The selected internet site will be displayed in your default browser.
drop down the menu and select the Internet Site you wish to query. The selected internet site will be displayed in your default browser.
Displaying notes and full distribution information for a species
To get notes and full distribution about about a species first select the species you want information about then select Home menu and ![]() . Full information see Species Notes.
. Full information see Species Notes.
View Functions
Toggle All/Selected.
You can toggle between showing all the species and only those for which data has been entered by selecting View menu and ![]() (Alt+Plus Key).
(Alt+Plus Key).
Toggle Subspecies.
You can toggle between showing and hiding sub-species by selecting View menu and ![]() (Alt+S).
(Alt+S).
Change Distribution Scope
You can change the species shown based on their distribution status. Select View menu and select the required distribution level from the drop-down
![]()
Switching databases
While selecting species for a trip you can switch to another database and enter sightings for different fauna, e.g. you may be entering sightings for birds and want to add some mammals. For full details see the help article Entering sightings for a trip across your databases.