Import Sightings
In order to import sightings data from an external system you must first export data about sites and your sightings from the external system. Sightings data from other Wildlife Recorder users, Ebird and Birdtrack can be imported.
If you wish to import data from an unsupported system you will need to manipulate your data into the required import format. An import file mapping utility is proved which can perform this for you.
Please be aware that you should always import your locations data from your external system before attempting to import your sightings.
To Perform an Import:
- Start Wildlife Recorder 4 and open the database into which you want to import your sightings.
- Display the Advanced Functions menu by clicking the Show advanced functions link button or by pressing Alt+9 on the keyboard.
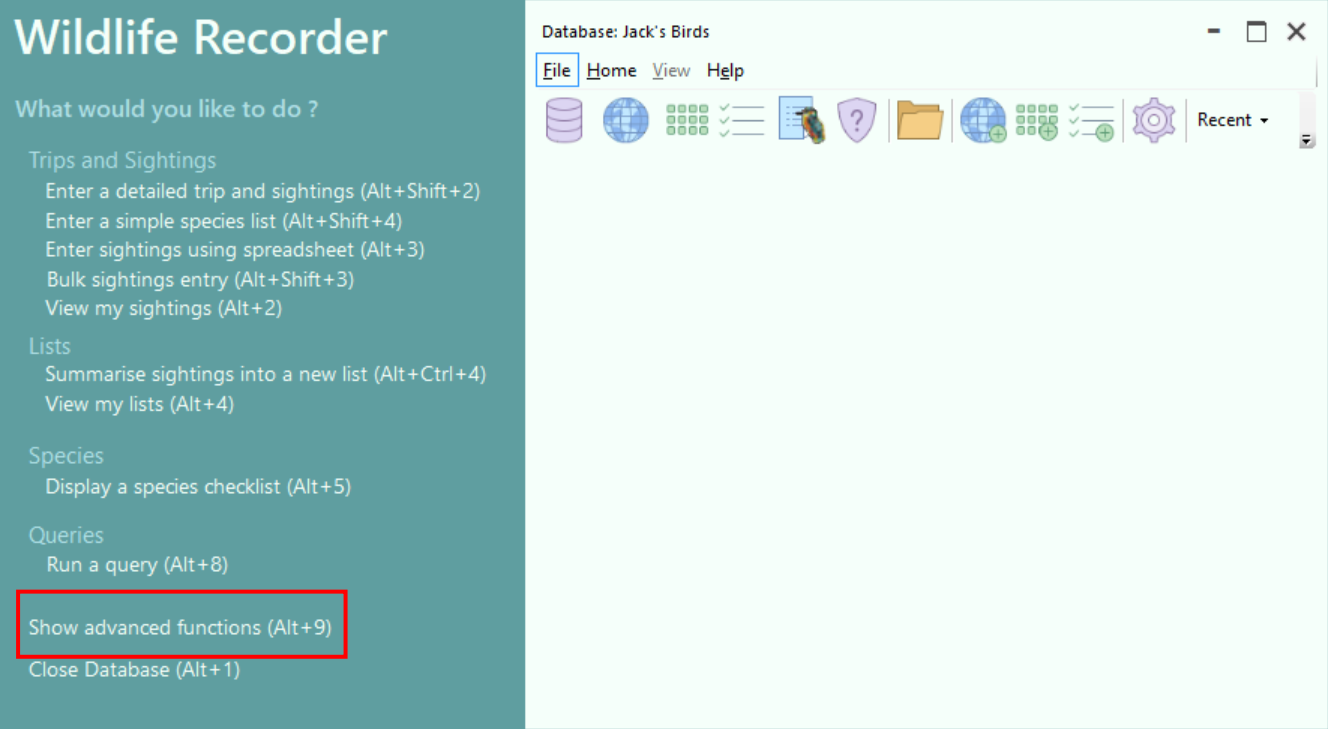
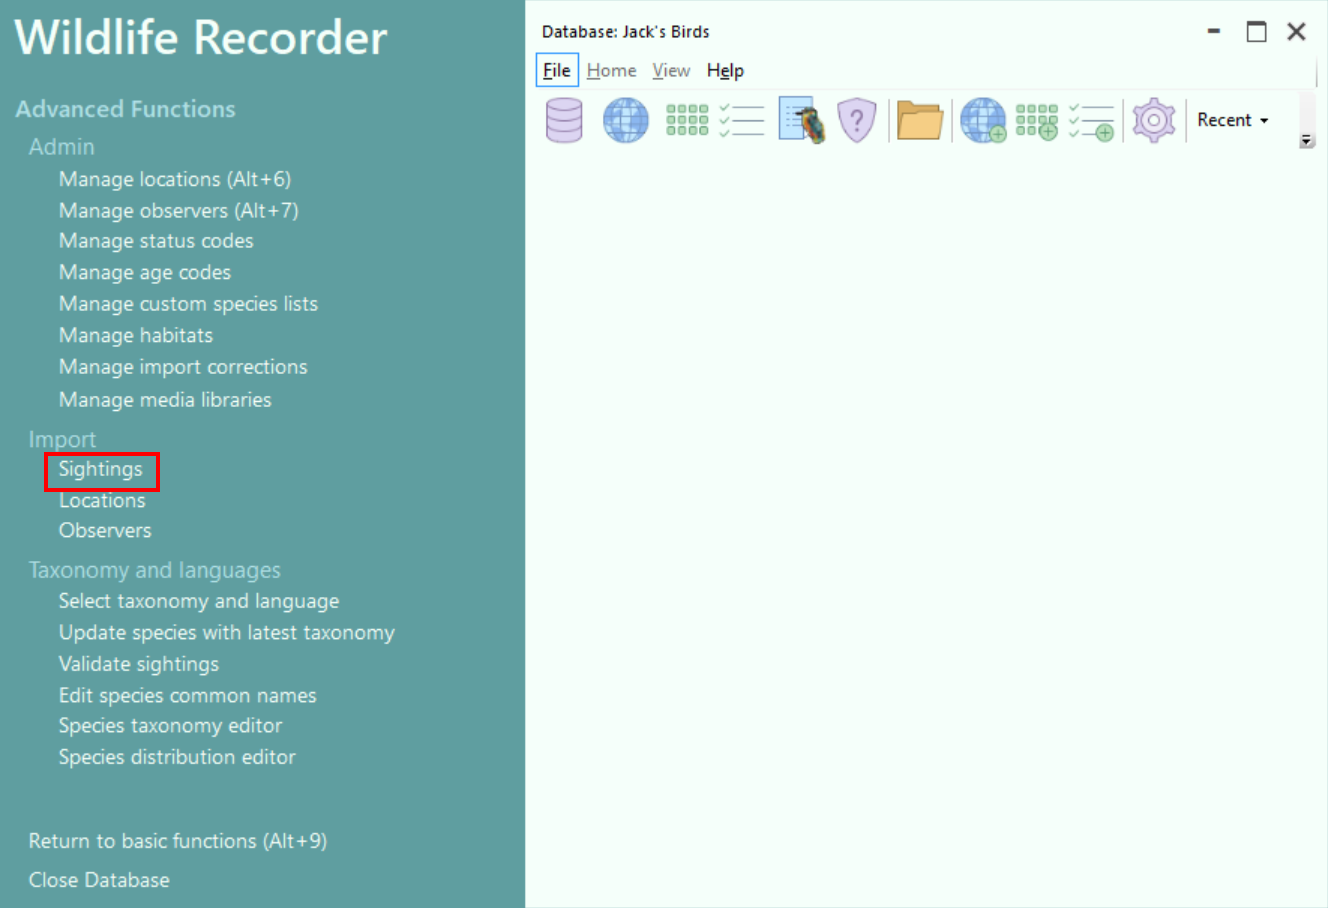
- Click on the Import Sightings link button in the Advanced functions menu.
- If there are any outstanding errors from previous imports, a screen similar to this will be displayed.
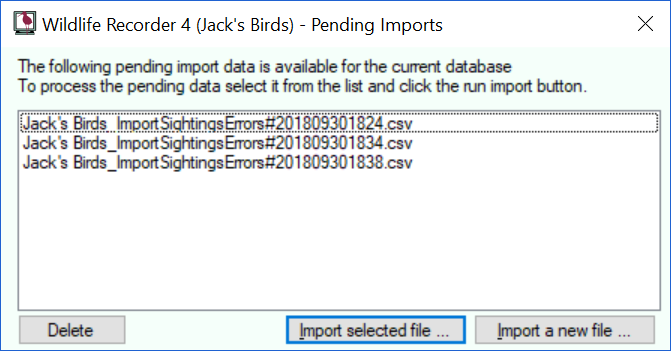 You may select a previous import errors file and run it to correct the errors by clicking the Import selected file button. You can ignore the error files and import a new file by clicking the Import a new file button.
 - The Import form will be displayed.
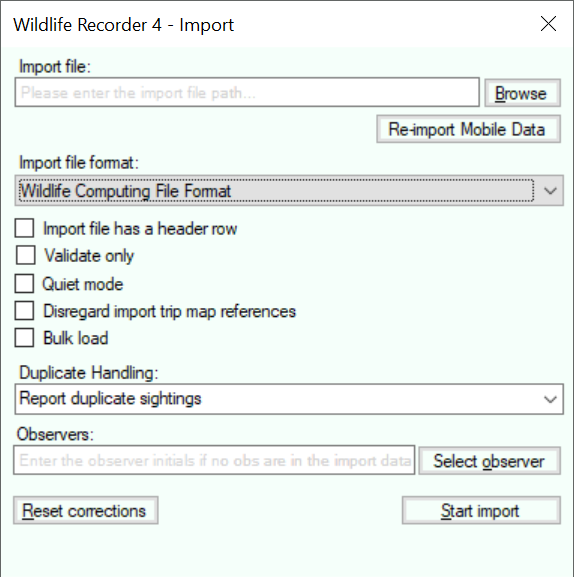
- Select the the type of import file you wish to import from Import file format drop-down.
- Select or enter the full path name for the file to be imported. Use the Browse button to search for the file if you wish. If you wish to re-import a previously imported Nature Lister or WR4M file, click on the Re-import Mobile Data button, a list of the available previous imports will be displayed.
- Select the options:
Import file has a header row. Select this option if the import file has a header line. The header line will be skipped and the second row in the file will be treated as the first import record.
Validate Only. The data in the import file will be validated and written to a holding file for later import. Any errors found will be annoted with a message in the final column of the holding files, the holding file can be edited using a spreadsheet program and the errors can be fixed manually prior to re-importing the data. No data is added to the database if this option is selected.
Quiet mode. When this option is selected, any import records containing an unknown species, site or observer names or other validation error (e,.g. incorrrect age and status codes) will be written to a holding file for later processing. The import will be performed without pausing to report errors in the sighting records. After the import has completed you can manually correct the errors in the holding file prior to re-import the data.
Disregard import trip map references. If this option is selected, map references in existing trip records will not be overwritten by map references contained in the import records.
Bulk load. If you are importing a large file, selecting the Bulk Load option will greatly speed up the import by not updating lists as the import progresses. Once the import has finished go to the Lists Area and select Repopulate all lists from sightings to build the lists. The combined time taken for the import and the rebuild list steps is much reduced over performing the import without Bulk Load set. -
While importing records the system may detect that there are duplicate trips or sightings. The method which the system will use to handle the duplicates can be selected from the Duplicate handling drop-down as follows:
Ignore duplicate sightings. Any duplicate trips or sighting import records will be ignored.
Report duplicate sightings. If this is selected you will be informed of any duplicate sightings and will be allowed to modify the original sighting record. See Correcting Import Duplicates below for details on the duplicate resolution procedure.
Overwrite the original with the import data. If this is selected the existing trip or sighting will be replaced by the data in the import record. -
If you are import sightings data for an individual observer you can set the observer for all the import sightings by setting the observers field. Click the Select button to select the required observer(s) (see Selecting Observers).
-
Any corrections made to species names, location names or observers during imports are remembered so that they need only be made once. If for any reason you want to erase those corrections you can do so by clicking on the Reset Corrections button. There is also a facility, in Advanvced functions, which allows to import corrections to be edited.
-
Click the Start Import button to start the import.
A confirmation message box is displayed, confirming the options selected.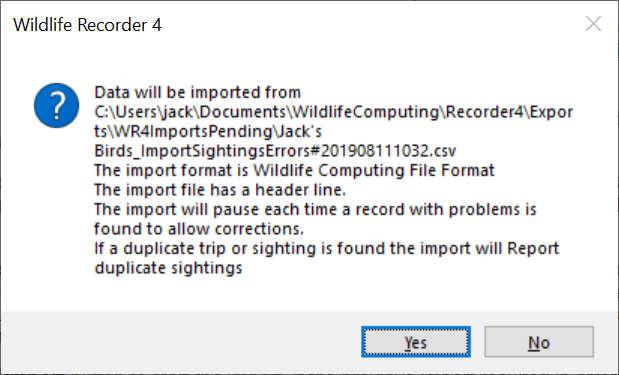 If you are not happy with the settings then click the No button to return to the Import Form. To start the import click the Yes button. To close the form without performing the import click the X button or press Alt+F4
 - When the import has completed a form similar to the one below will be displayed.
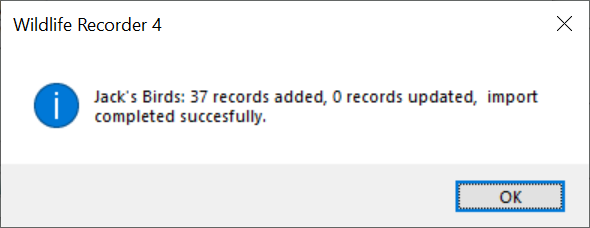
- WR4 performs strong validation on the records being imported. If you have not selected 'Quiet mode' and any locations, species or observers cannot be found you will be asked to resolve the issue, see links below for details. If any import records would cause a duplicate trip or sighting record you will be asked to resolve the issue, see links below for details, If any other errors are detected the import record(s) containing the errors will be written to a pending file for correction and later re-importing, in that case a screen similar to the one below will be displayed.
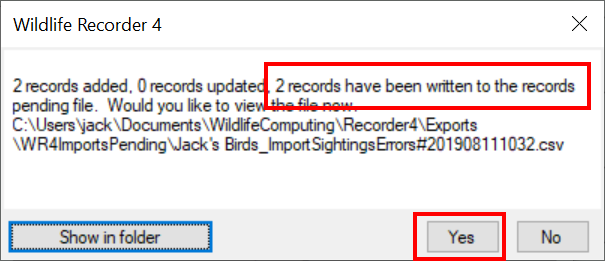 Click the Yes button to display the error file in whatever spreadsheet program you have on your computer. This example is Excel. Te reason for the error is shown in the last column of each row.
 The errors should be manually corrected and then re-imported. Information about the re-import process can be seen here.
Correcting Geographic, species and observer data
While your records are being imported it is possible that some discrepancies will be found. Click on the link below to show details of the correction procedure.
